Friday, March 14, 2025

#No_Hacks Devlog 1: Pre-Game Jam Brainstorming

I know I set out this new year saying I would maybe try to make less projects, but this year is really turning into a year of making more games because I love making games and just keep coming up with new ideas. So let me introduce my next game dev project: #NoHacks (the title is currently a work-in-progress; I'm unsure if this is the final title)

This will be a series of blog posts to document my process as I go about creating this game!

As you may know, I'm a huge fan of game jams, so when I found out that Gotcha Gotcha Games was hosting an official RPG Maker Game Jam this year, I knew I wanted to enter! The last time they held an official game jam was in 2022 when I created Spirits of Combination Village for the Indie Game Making Contest: Rebirth. I decided to participate in that jam pretty last minute and it all happened after I went through some serious medical procedures, so it was kind of my way to get back into projects during my recovery. I had a lot of fun working on that project and received a lot of positive feedback, so it made me want to enter another event like that.

So with the RPG Maker Game Jam this year, they announced the theme about a month early. They mentioned that we could start brainstorming ideas and coming up with concepts, as long as we didn't start the actual development until the start date. So I decided to take full advantage of that! After all, this jam is also not the best timing for me because I'm out of town for a full week in the middle of it and my brother's out of town towards the end of it, so it really doesn't line up great. But I wanted to enter to some degree anyways.

So I started out by coming up with ideas! The initial brainstorming took place for hours one night when I was laying in bed and couldn't sleep. I wrote ideas in a Discord channel to myself and just couldn't stop thinking about ideas and what I wanted to do with this game. It was a productive night, but I didn't get a lot of sleep that night because it was literally keeping me up all night with the excitement for my new project.

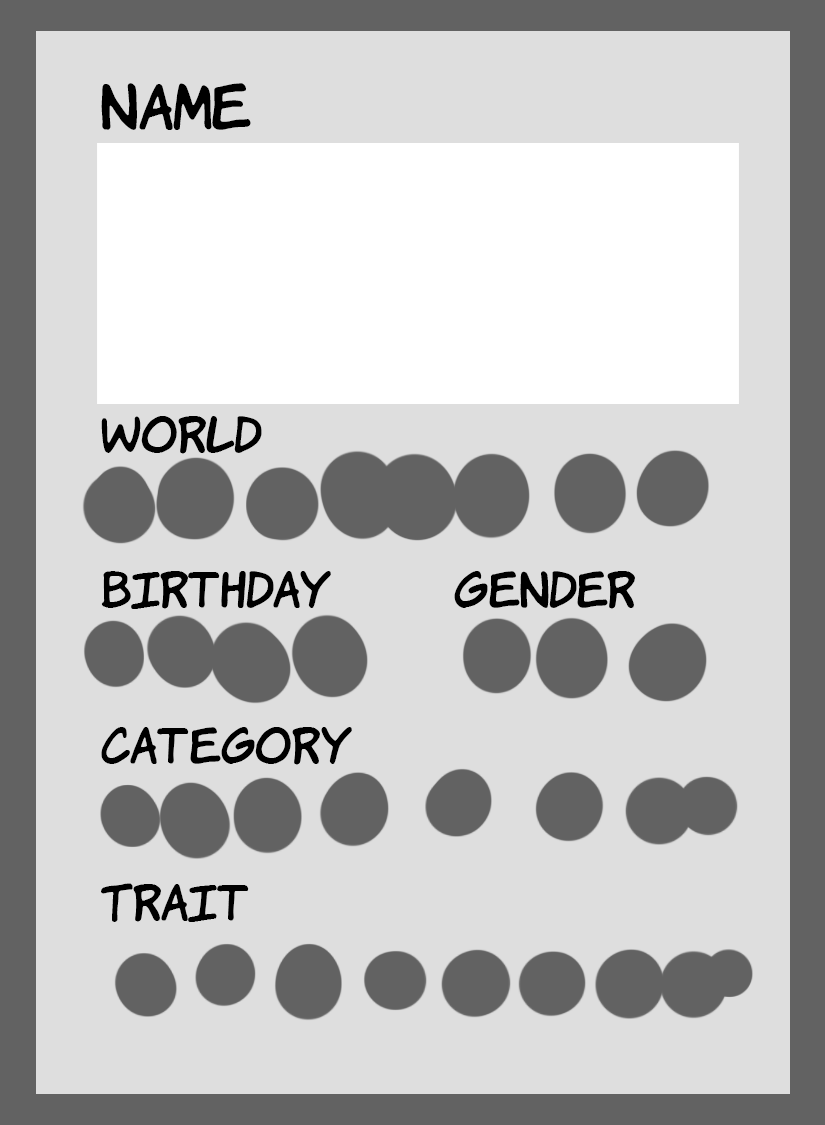
Then I drew some quick thumbnail sketches to jot down some of my first ideas. This was just ideas for different UI and menus. I came up with these to at least start thinking about visuals and what it would look like in some way.

From there, I started to come up with a more solid plan. My brother expressed interest in joining me even though we both will have limited time. So I put together a Google Doc similar to our GGJ docs to start organizing ideas, laying out a basic schedule, and throwing some inspirations in there. It was a good way to organize and collect all of the ideas I just threw in a Discord channel so it was actually readable and I could pitch the idea better to him.

Then I created a Notion page to further plan out the schedule and tasks needed. These are still pretty rough, but I'm planning about 1 week to get the basic mechanics, 1 week for art, and 1 week for playtesting. And then obviously there are other things that need to get done (like story) somewhere in there, but for GGJ projects, that's usually a pretty quick piece that we throw in there towards the end once the core mechanics are there. I was thinking it might be something I can casually work on while I'm out of town if I'm feeling up to working on it at all, but we'll see how that goes!

My brother and I decided we're gonna meet to work on it for one day, but that he probably won't have a lot of time to dedicate to it. So it might be more of my project with him just helping out with some parts.

I also planned out some more ideas for the story and gameplay with a rough sequence of events. I did a few sketches for puzzle ideas and how they could fit into the story as well.


I'm sure these level designs will change once I'm actually developing the game, but I wanted to put some ideas on paper!


And that's everything from before the jam officially started! I made sure to do a lot of planning to make up for the week that I'll be out in the middle of the jam. This way I'll be able to make use of all of the time I do have during the official dates! Nothing has been started in the game itself/I haven't made a project file yet, but I did at least do most of the planning/design docs so I can start developing right away.

This post was technically written before the official March 20th start date. This project will be my focus for the next month, so I'll probably have 1-2 more blog posts at least where I detail the rest of my process as I create this game. I'm excited to start developing when the jam officially starts!

Sunday, March 9, 2025

Nay Saga Devlog 10: 3D Printing & TheGameCrafter Prints

So I was out of town for awhile leading up to this CUPdate, so it’s a bit of a smaller post, but I did some 3D printing before I left, so that’s mostly what I’ll be talking about here. I also ordered the first copy of most assets from TheGameCrafter and that came in the mail!

While I was coming up with extra parts, I decided to find some card case models on Thingaverse and do some 3D prints to figure out if I could use any of those for my game. The first one came out  too small since I resized it to fit in my printer so it wasn’t big enough to hold cards. But then I continued to print a bunch more each day and found a couple that are pretty good for what I want.


Then I decided to make a 3D model of The Gek so I could use it as a printable piece for indicating who the current starting player is. I sculpted this in Blender.


I took the model into Flashprint MP to prepare it for printing.


Then I printed it out! I tried a bigger size and used some paint markers to test how they worked on the 3D prints. It was pretty good but I didn’t have a purple one so I had to paint The Gek blue instead. Then I printed a couple of smaller versions too that are closer  to the size that I think I want it to be. I may end up using acrylic paints for the final version.

So I ordered one of each game part on TheGameCrafter and after about 2.5 weeks, it shipped to my location! It was really exciting to open the package up and see my box shrink-wrapped and a physical game. I was happy with how it all came out! I think my main change for the box itself is that I may update where the gloss is and reserve it for only the characters.


I opened it up and the numbered tiles and score tokens all printed out good as well! I may want to work on the designs a bit to re-center and have less border-like elements to account for the drift of them being slightly off-centered, but otherwise very minor updates would be made.


The score board came out well and I tested out the dry erase markers with it. I was happy to find out that any dry erase markers work so I can more easily replace and mix and match colors.


And then I looked through the cards! I printed a few variations on colors I wasn’t 100% certain on, and I’m really happy that all of them are readable on the final cards so I’m able to pick the ones I like most instead of accommodating for ones that might be more readable. The quality on these cards is a lot higher than I was used to from my prototype cards so I’m really happy with those as well.

So I picked the best of each type and I decided which ones I’m going with for my final ones. I’m happy that none of them look too similar to each other and they’re all readable.

And it was cool seeing the card backs finally on all of them. I’m still thinking about maybe updating that drawing of The Gek but I’m not 100% sure yet.

Then I tested out using dry erase markers for the guessing card. The black ended up being unreadable, so I knew not to use that for the final.

I tried red and that one works well. I’m probably going with the dark backgrounds since that’s easier to fill in and read.

Then I laid out some cards and put tokens on top to simulate what it would look like in the game and I’m happy with how they came out!

I also continued to draw more characters to add to the ones available in the game! This has been an on-going background task I’m doing when I’m not currently working on the game and just need something easy to do on nights after work.

So I’m getting very close to the end of this project. Just some tweaks on the assets, the rulebook, and then final prints!


Sunday, March 2, 2025

Nay Saga Devlog 9: Game Parts & Live Playtesting

So I’m finally closing in on the final designs and some of the assets outside of the cards. While I know I said I “finalized” the card design last time, I did end up revisiting it and I’ll show the actual (hopefully) final design in this post!

I started to think about some of the other assets like score cards for the rounds, point tiles, guessing card, etc. So I made digital sketch versions of the ones I originally concepted in my sketchbook. I downloaded some of the templates from TheGameCrafter as a starting point and then designed ideas based on some of my older sketches to start to plan those.


I printed out my super rough versions just to test for scale. They all came out pretty accurate, but I do know that I want to make the lines a little thinner (or stylized) when I start to finalize the score card, because they look a little thick right now.

I started to think about the logo so I digitized a few of my concepts to start getting some colors in there. At first I wasn’t sure if I wanted to go with a red or blue color scheme, but I knew thinking one of those was likely. Red was feeling more right because of Mr Dude, but I was so used to the blue that I’ve been concepting with, so it was hard to decide. I ended up going with red in the end though. I’ve been drawing inspiration from Yoshitaka Amano logos like Romancing Saga and Final Fantasy for some of the last few designs. It feels a little busy right now but that’s kind of the direction I’m thinking about so it’s more integrated.

I decided to concept some ideas for the box art, taking a lot of inspiration from board game boxes that I enjoy. I came up with some ideas for the front and back. I want it to be very centered around Mr Dude and all of the characters fighting against CourtNay and Jesper.

I threw together a quick back for the card based on one of the logo ideas I had. The more I concept, the more I’m mixing the red, blue, and purple color schemes. So it can be Mr Dude and The Nays color schemes.

Then I started to come up with some “final” images for the extra pieces. I’m still not 100% sure if they’re final, but I’m making progress! I made the score board next. I started with flat colors then added textures to them to make them stand out more.

Then I test printed them to see how they would look on paper! I was pretty happy with how most of these came out. 

I still wanted to do a few more designs for the card backs. So I threw some textures on it and played around with some filters to make some new concepts. I was leaning more towards the top-right and top middle designs below. I ended up going with the top-right because it felt most right to me.

Then I came up with some ideas for the type advantages card layout. At first I thought about swapping the red and green arrows. These didn’t end up as the final designs but were the first ones.

Then I started to finalize the design for the guessing card. I fit all of the traits on there, but I still wasn’t 100% sold on the background colors.


I printed all of those new cards out to see how they’d look printed! This photo is from before I made the final calls on some of them, but it was what helped me get to the final decision on them.

Then my friends Jinny, Hillary, and Laura helped me beta test my game! They all had fun playing it and it was really valuable to finally test with real people. It boosted my mood a lot to know that they were genuinely having fun playing it and didn’t have a lot of big notes to change from it.

So I made some slight tweaks to the card designs based on feedback and playing the game. I mainly wanted to make the type strengths pop out more so it’s easier to view at a glance, since that was the biggest struggle that we all agreed on while we were. Jinny helped me figure out the final colors (and it took about 20 slight iterations after the last time to get to final designs). I’m finally happy with these and can hopefully call them final!

I also updated the type advantages chart card since I had a misprint with some of the arrow directions. I decided to simplify it a bit so you can tell more which type is specifically strong against the other instead of trying to account for both. I updated the guessing card to add the types in as well.

Then I finally started to prep my cards for printing on TheGameCrafter and exported the files I needed. I’m getting close to the first official prints!

Then I realized for the font I’m using, it was missing some special characters, so I went ahead and edited the font in FontForge to add some of those. It was a challenge for me since I don’t have a lot of experience with vectors and using the pen tool. Some of them I might have to come back to or do slight edits on to manually draw over names though to fix them up in the end.

Then I started on the rules for the game. I just typed this all out in a Google Doc and decided that the formatting would come later. I just wanted to get all of the text down on paper first.


Then I finally finished my logo! I got some feedback last time and so I made some tweaks and leaned in closer to my inspirations. I’m finally satisfied with how it looks.

I also started concepting the box design digitally. I started with a sketch and then cleaned up the drawings. I really liked how it came out! I added the logo and playing elements to it and the top of the box is officially complete.

I also worked on the back of the box to include more information. I still need to work on updating the contents to be accurate to the final count, but otherwise it’s done! There are a few parts I was waiting on the final card design for as well so it took me a bit to get here.

And then I also started to save out images for all of the other cards. There are going to be 700+ characters in this and I had all of the images collected, I just needed to save them out as transparent PNGs that are lined up and resized to fit the cards. So I did that in a night or two for the majority of the characters.

Then I saved out the first drafts of all ~700 cards using those images. Some of them were missing areas and I had to do some tweaks but I was able to see them all at a glance and know what’s next. It was really satisfying to see them all flood in within a matter of minutes! I love how much time nanDECK is saving me.

Then after triple-checking everything, I officially sent my designs off to print from TheGameCrafter! I’m printing just the first few pieces to make sure they print okay before printing the entire game. Someone on the staff helped me out since I was having a bug where it wasn’t allowing me to proof the files and then they also gave me some tips on removing borders that I forgot I kept in there (as I had been using them just for my prototyping). So it’s officially in!

By the next post (or the one after it), I’ll have the first batch of prints hopefully here with some ideas on anything needed to update for the final version. Hopefully not too many tweaks will come from that. But I’m printing a few versions of any of the cards I’m slightly worried about!