This was my first official week working on my RPG Maker 2025 Game Jam project after the initial brainstorming! I spent most of this week focusing on the actual game creation, so you'll see a lot of mechanics working here, but not a lot of final art. I got the entire game loop working and just a few polish areas left in terms of the game design outside of creating the art.
I started by actually doing some lowkey finding assets. This included fonts, music, sound effects, and plugins. I did some light tests just to see how the fonts could look when used in situations like a logo, UI, or dialogue text.
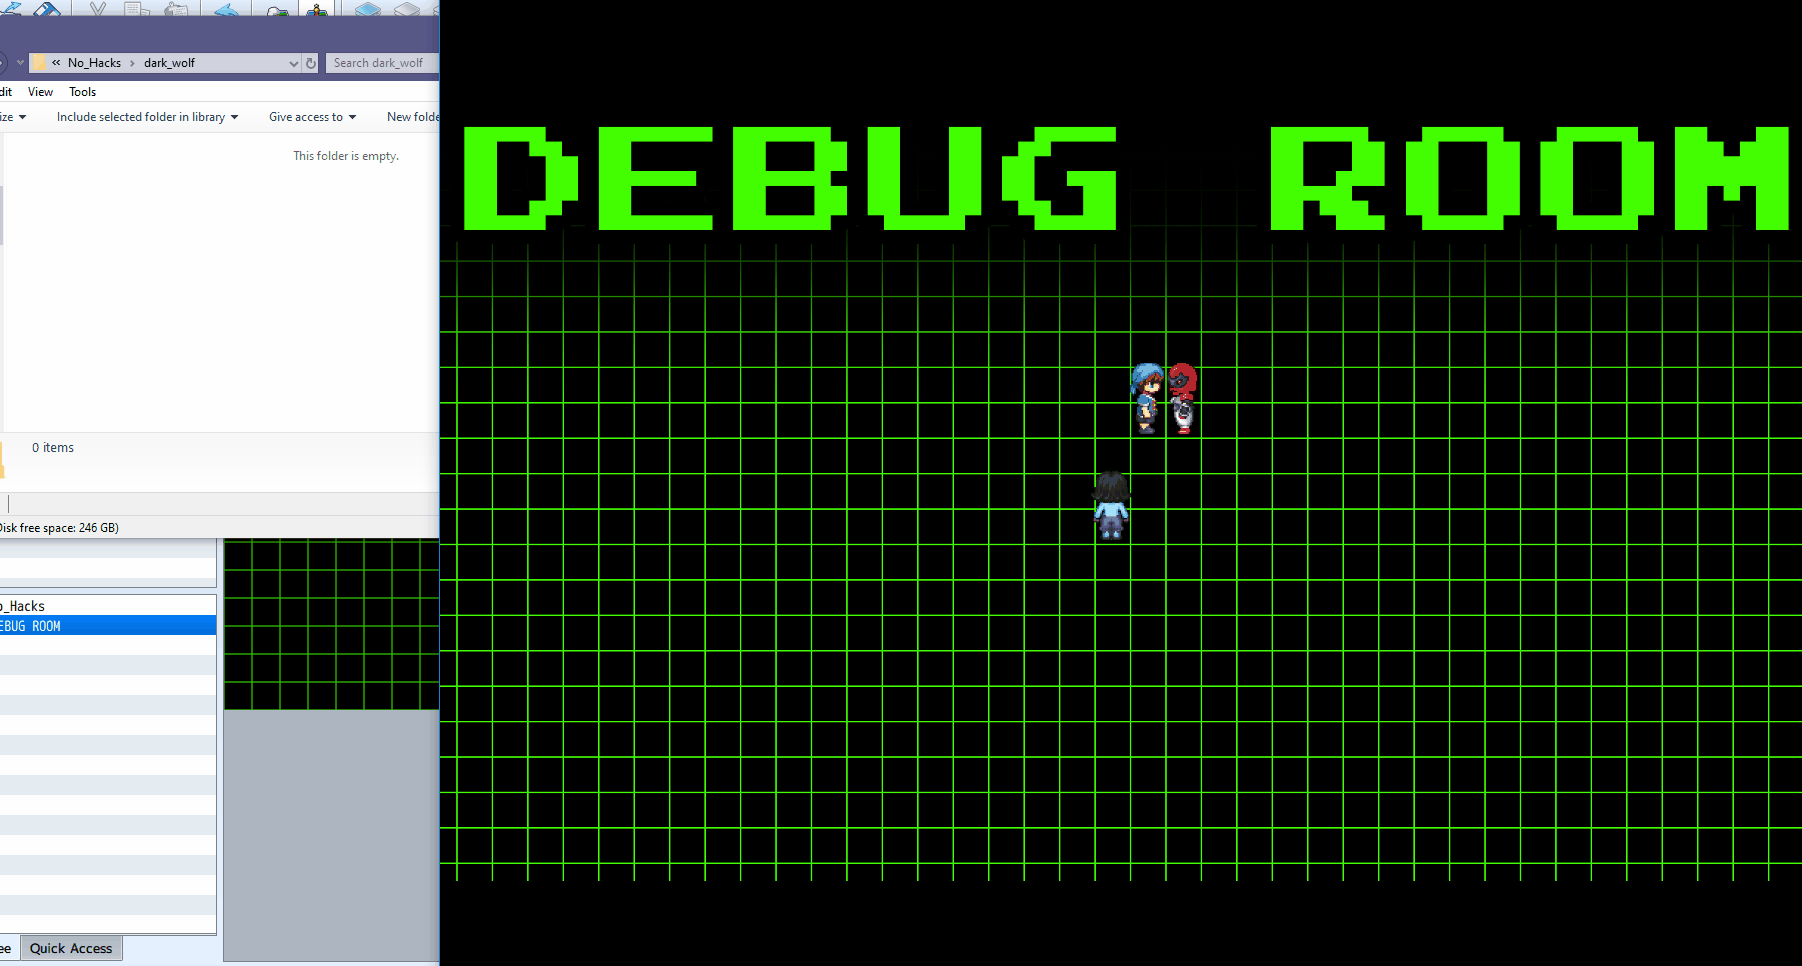
Then I created the RPG Maker project! The first thing I did was import a bunch of assets, remove default assets, and just get a basic debug room where I could start to test some mechanics.
The first mechanic I got working was saving files out to the folder. It was a pretty basic JavaScript command so pretty easy to implement!
Then I used the Visu Stella Core plugin to modify the naming screen so I could essentially use that for inputting the console text commands. It's limited to only 16 characters, but I'm hoping to keep all of them under that so I can just use this since it's more built-in. I also added some UI and updated the spacing of this box to make it more customized.
I ran into a blocker where I couldn't figure out how to change the font of the text box and I was having an issue where if you press the arrow keys, it prevents you from typing. So I ended up investigating further and found Biud436's Input Dialogue plugin that worked better! It also didn't limit me to just 16 characters. I was able to dig through their code and update the CSS to work with the styling that I wanted.
I tried exporting a version to make sure this mechanic would work when it's not just in RPG Maker and I ran into an issue. It didn't work. So I narrowed it down and was able to get it working in the base folder without the subfolder. I was troubleshooting for about an hour until I realized it was literally just that I forgot a / and somehow it worked without that in RPG Maker but not the exported version. So once I included that, it was officially working in the exported version, so I knew I could continue on with this core mechanic!
Using the Events and Move Core plugin, I set character names to appear above their heads to have more of the chatroom feeling. I got it to work with NPCs pretty easily, but the player was a bit more complicated. I got one working that doesn't move quite as smoothly as the other characters, but did that temporarily for the time being. In the meantime, I asked for some help on the forums!
Then I continued to go down the path of creating files and folders. I was able to get a mechanic working where a folder is created after starting the game. This way, it allows for more flexibility so I'm not stuck with creating the folder initially.
I then found a way to move files between folders. I started by testing out moving an image file. Then I made my code more reusable so I could plug variables in for the file names so I could more efficiently reuse the code in a Common Event.
Then I used the KC_CompositeBitmaps plugin to save out image files to a folder. I again ran into the issue of not being able to choose X and Y coordinates, but I came up with a temporary solution where I'm planning to just save out extra files and place them in all of the positions so it's not obvious from the image file which one goes in which order.
Using the VisuStella Options Core as a guide, I then figured out how to force the game into Windowed mode. My plan is to have this happen to further hint to the player that they must look at the folder next.Then I started to convert my sequence of events into RPG Maker. I was just creating basic maps and rough coding that would progress the story forward. I'm trying to really focus on the MVP with this game, and building the final product in very rough stages earlier on so I can find bugs and things that don't work before the playtesting week at the end. Luckily with the gameplay being more simplified, I'm able to focus more on this.
Eventually, someone got back to me on the forums to help out with my issue and I was able to get it working with the TextPictures plugin instead. It was a bit more of a workaround, but it works!
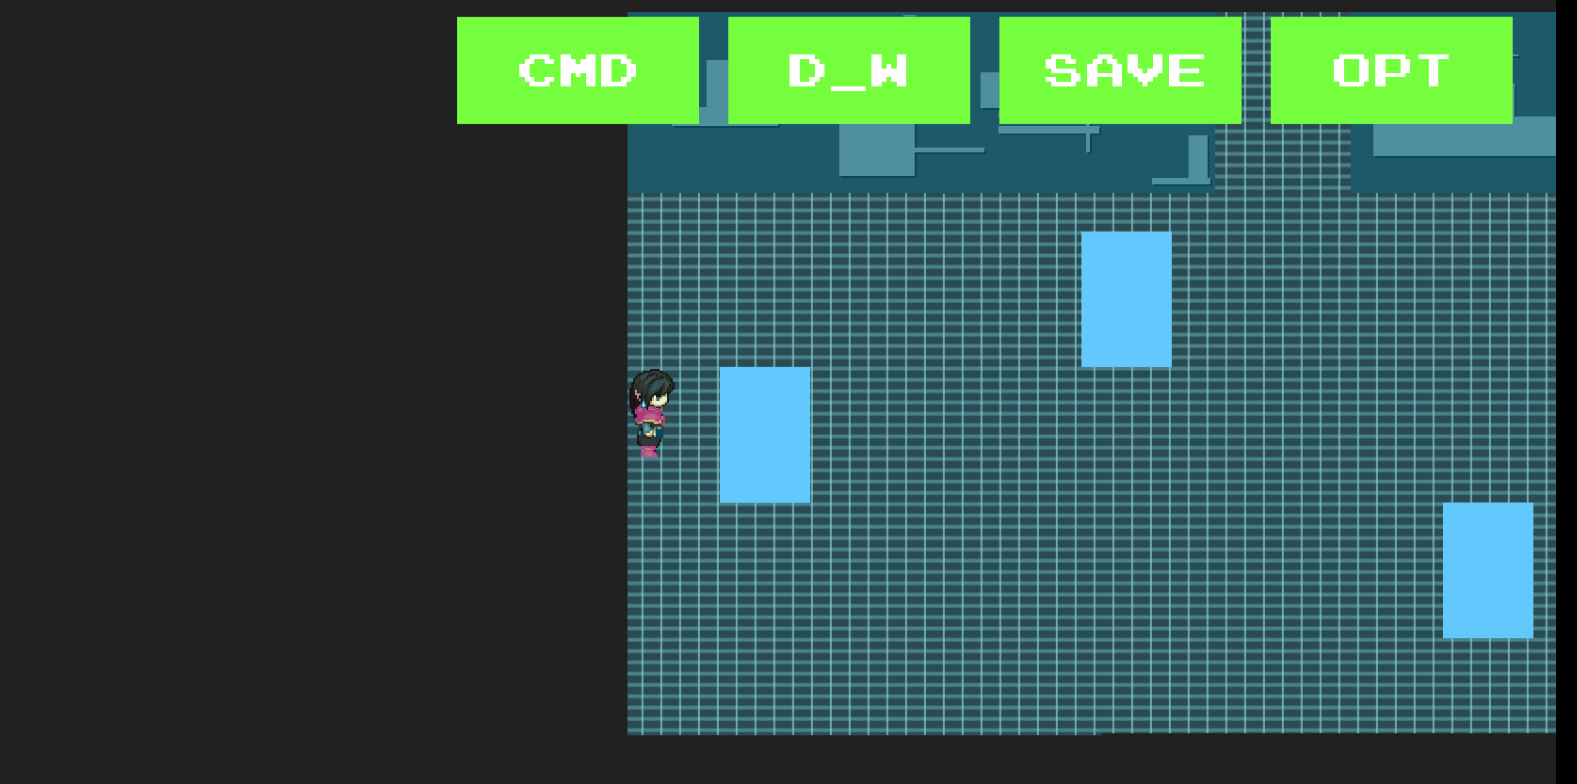
Then I created some simple buttons for the HUD so I could click on commands like the bringing up the console in the way it's meant to be in the final version. These images are very placeholder, but I just wanted to get the functionality there.
Then I started to lay out the main puzzle areas based on my original sketches. This included the camera hallway and laser hallway. I got some regions in there to plan out where my events would go so my brother could start drawing the final art for these areas.
Then I worked on the camera mechanic. I was able to get it working so you can type a console command, and it changes the directions that a camera and its sight are facing.

Then I started on the laser puzzle, which turned into a lot of research on moving events between two locations. I made a console command that turns off the stationary lasers, and then one that slows down the movement. By slowing down the movement, it turned into much more challenging task than I thought it would be. Because I was using event pages to control this, it would pick up the location the event left off last instead of keeping into account its original position. I eventually got it working through some event commands in the VisuStella Events and Movement Core plugin, but it was a challenge! I also had an issue where it would lag whenever teleporting to the start of the puzzle, so my brother came up with the idea to make the character actually jump backwards instead. I ended up actually liking how it looks a lot better this way than the original method, so I'm glad it worked out better with performance and visuals!

The next mechanics were for one of the later puzzles. I created a sight mechanic where you have to sneak around and avoid being spotted by characters. If you're within 2 spaces from them, they spot you and you must restart the puzzle. I made use of loops to streamline this code across all events of this type.
Then I went back to the camera code. I wanted to streamline it a bit more so I could scale up for multiple cameras, spotlights, and directions. I ended up using string splicing to splice out parts that the player types in the console like the camera number and direction, and applied that to setting the camera's direction and the lights that spot the player.

Then I worked on the kicking mechanic for the stealth puzzle. If you're facing one of the enemies and they're not facing you, you can remove them. This required checking for a lot of directions and I also made a self switch that turns on to remove them. I had a long journey of figuring out how to make sure they couldn't spot you after their self switch was turned on. I had the code mostly correct, but it was just that I was referencing the event object instead of the event ID, which was throwing errors for me and I ended up troubleshooting that for about an hour. Once I got it figured out, it was a relief and it was all working though!

I also made a quick puzzle where you can cycle through symbols (currently placeholder character sprites). The player has to match symbols to solve it. This was definitely the easiest puzzle to develop for this game so far!
Then I transferred my sequence of events into Ink. This meant crosschecking my Google Doc with my RPG Maker project to ensure everything was in order so I could properly write the dialogue.
Then, I started to do some import tests to make sure text was importing properly from Ink. This plugin has always been great, but one issue I've had is that the character and text box images flash between lines. So I went into the code of the plugin and made my own plugin parameter to call a specific common event that would run at the end of a stitch instead of at the end of each line. This fixed the issue I was having and works a lot better with the types of games I make!

So to display the character's name in a different font, I also have to use a VisuStella Message Core macro in the character's name to display it that way. That meant that my image files had the macro in them, so I created events that would slice that string so it could just include their name. I also updated it so that just Murou, Dark_Wolf, and Zandra will have portraits, because I'm not sure I'll dedicate time to any of the other characters having them. I'm not even sure if I'll include Zandra in the end. This event also checks if it's in the middle of a stitch, and if it is, then it won't re-draw the textbox image.

Then I wanted to start showing image files for the characters so I could test that those are displaying properly. I'm not planning to do the final art until a couple of weeks after this, so I just threw together some visuals using some of my pre-existing art as placeholders for now. I ended up liking how it looks more than I thought, so I might be able to keep this simple for the final versions in the end.
While writing the script, I had a part where I wanted to draw or animate a scene of Zandra putting her headset on, but realized I probably won't have time to do that. So I recorded a "placeholder" video and quickly edited it to put in there. I spent more than placeholder assets time on this though so realizing it'll probably end up in the final version of the game, but that's game jams for you!
So I spent a lot of time writing the entire script in Ink! It was fun expanding upon some parts, as they do when I'm writing and in the moment. It took a bit longer than I planned because the sequence of events took me longer, but I wrote the whole script before moving on! It took a few days to get it all written out.
Then I figured out the switch puzzle. You can turn switches on through the console and can only have one switch on at a time.
While the puzzle itself is pretty simple, I didn't want to copy and paste those events hundreds of times for the different platforms, so I decided to create a loop that loops through and creates events based on template events (using the VisuStella Events and Movement plugin). It ended up turning out exactly how I was hoping and it set me up for success with my other puzzles.
Then I placed all of the camera events on the actual map. I made use of the spawned template events so I could update all of them if I end up changing them later.
I also placed all of the events in the final puzzle and my brother drew the final background art for it! So this part was fully playable as well.
And that's everything so far! I'm really happy with all of the progress I made on this project so far. The core mechanics and game loop are all in place, so now the main focus will be the polish and testing. I'll have a week break for travel, but excited to dive back into this once I'm back!